| Share |
|
Blog article posted December 2003 |
| Project Oxcart |
|
This is a mirror of the original page which was located at the WCL but has since been deleted |
| Email Announcement |
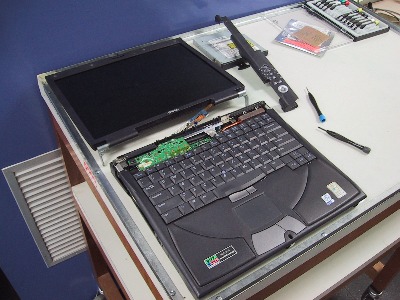
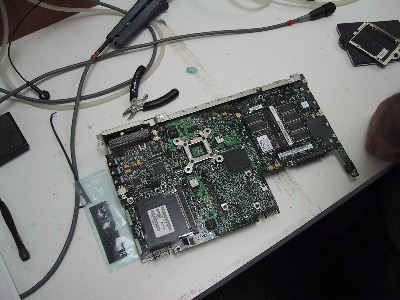
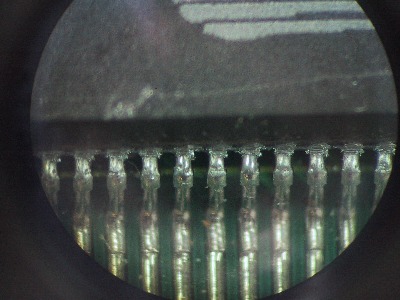
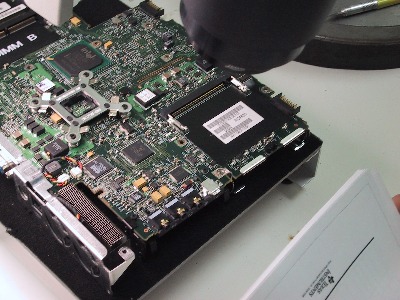
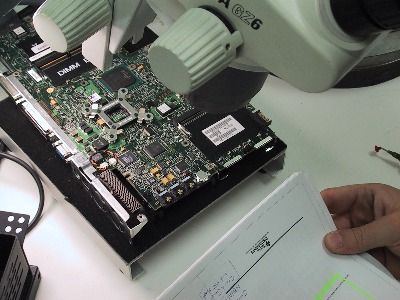
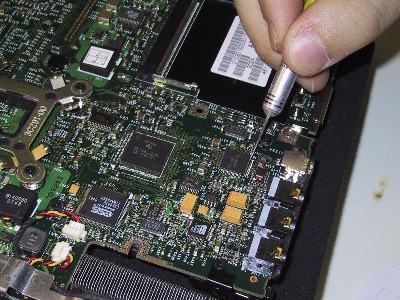
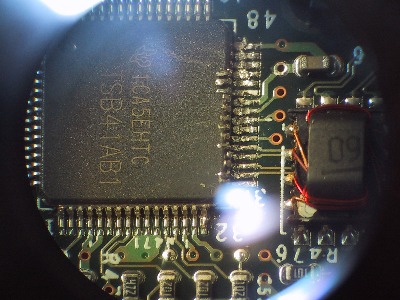
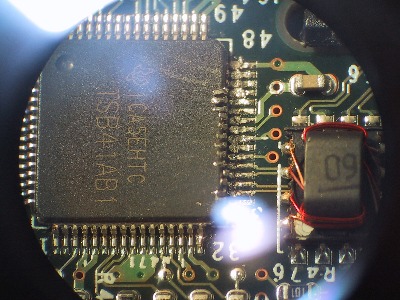
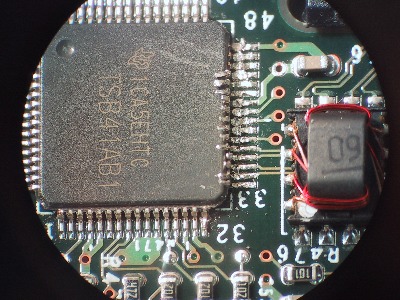
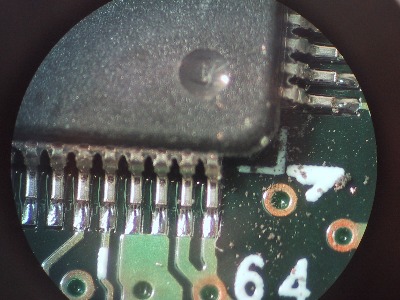
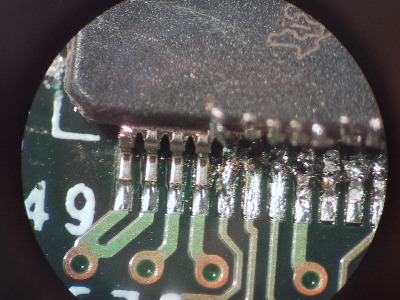
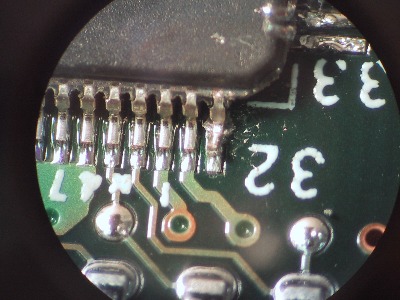
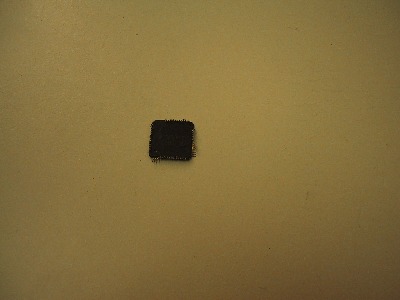
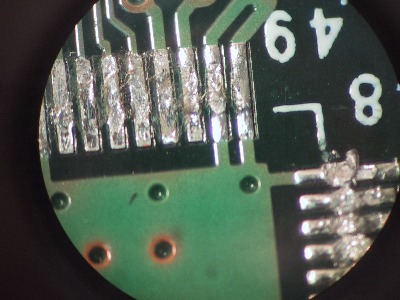
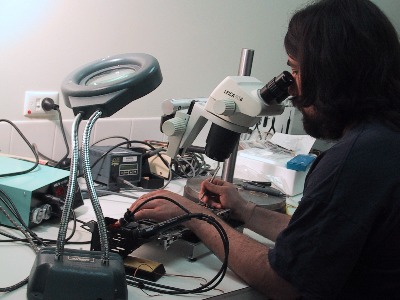
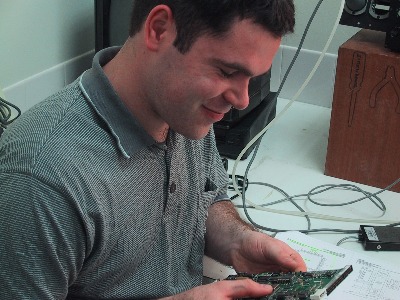
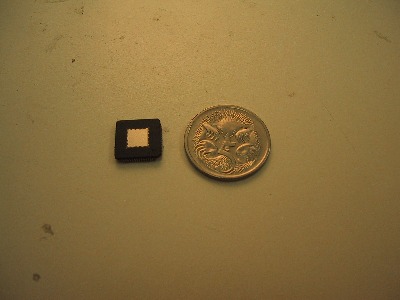
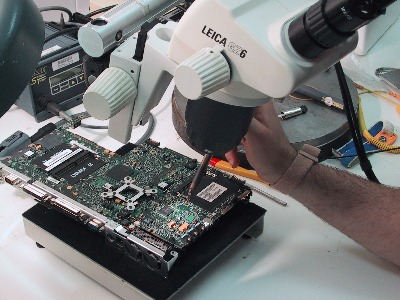
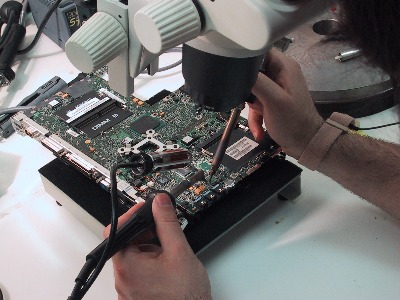
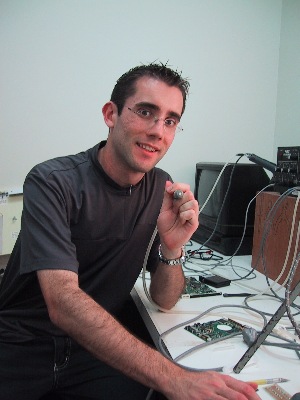
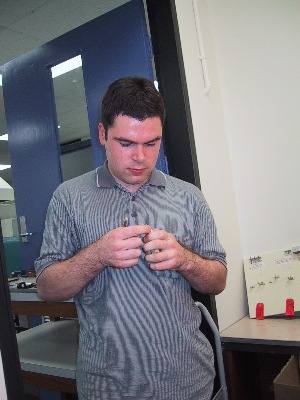
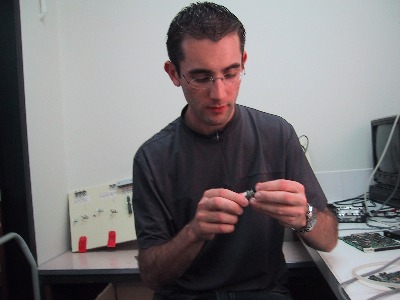
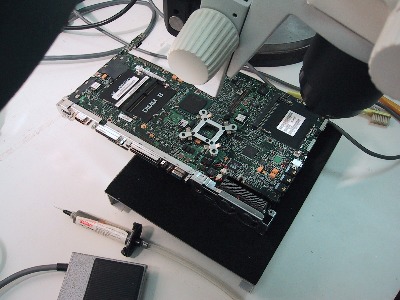
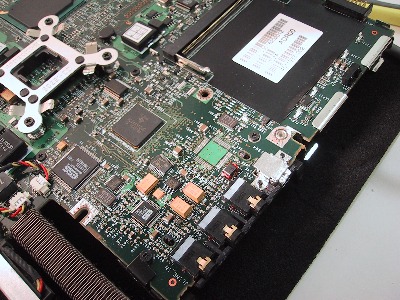
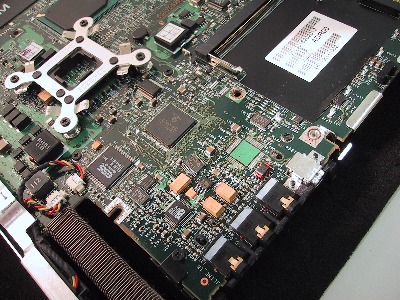
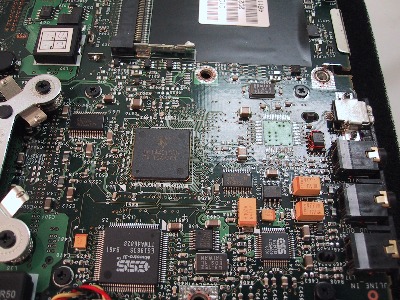
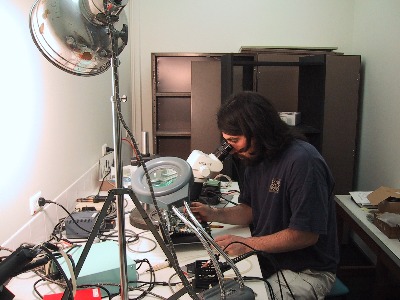
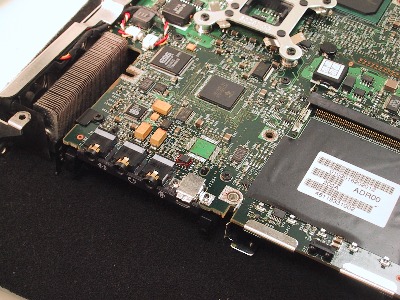
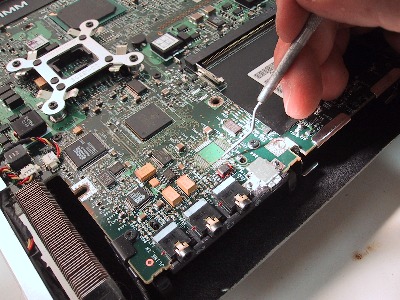
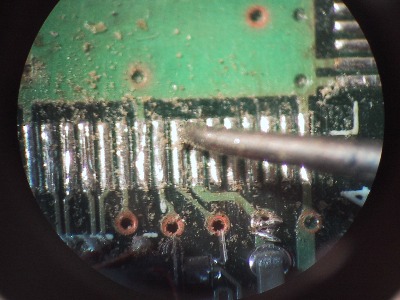
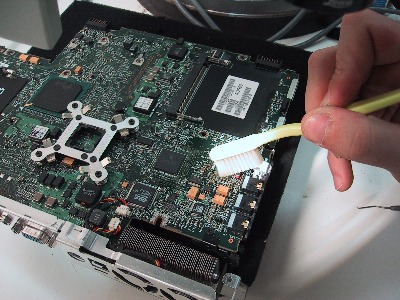
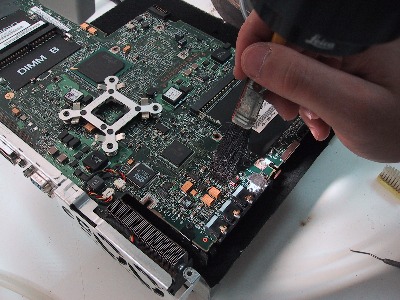
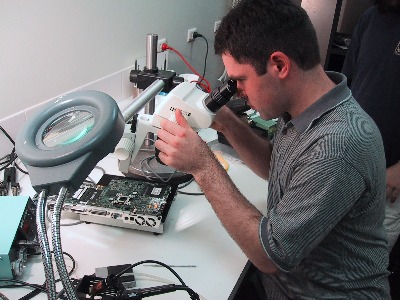
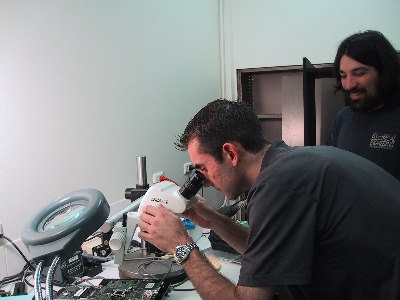
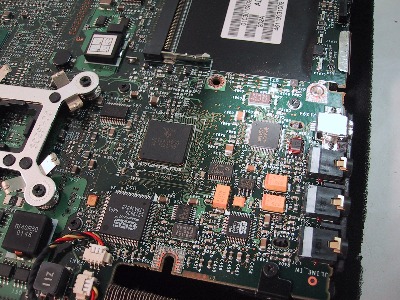
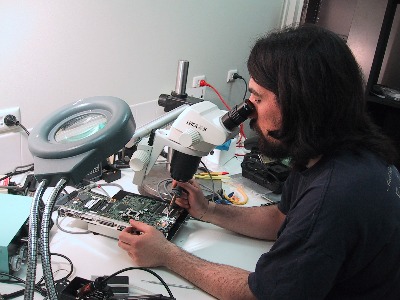
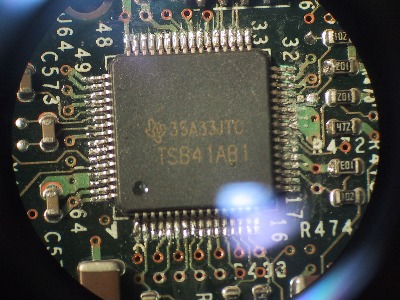
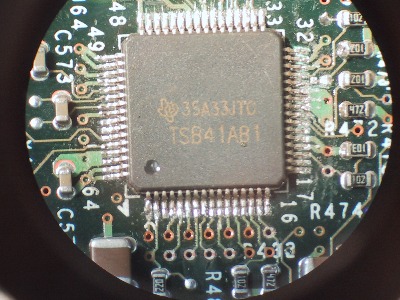
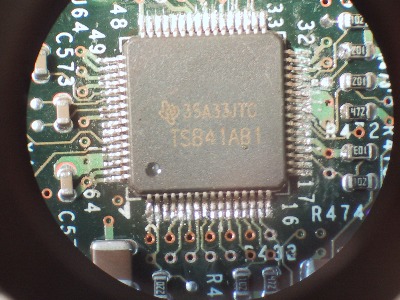
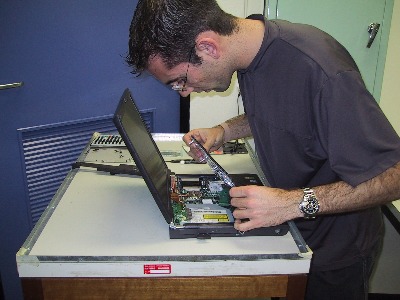
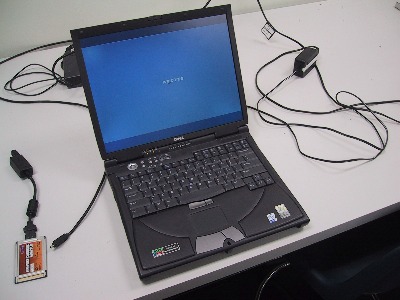
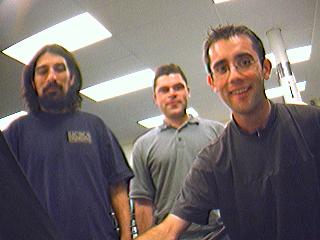
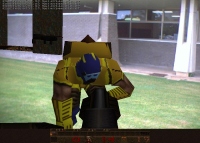
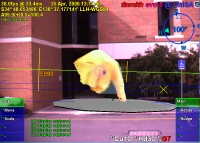
Hello everyone, Well, it has been a long day, but Project Oxcart (with Aaron, Ross, and Wayne) has now reached its conclusion. We spent from 3 pm to 11 pm today in the EE building soldering room, and successfully transplanted the new TSB41AB1 chip we bought from Digikey for $5 each. The EE people have a complete set of really cool soldering gear which helped us with the job. The firewire controller chip was damaged by a voltage surge, so while the chip still functioned on the PCI bus it could not talk to any external devices, making it useless. Dell wanted to charge $1100 for a replacement motherboard, so other alternatives were obviously sought. We completely separated the Dell 8100 into its components, and put the motherboard under the microscope. Due to the size of the component, the entire operation was performed under the microscope. We used a hot air pencil to heat each pin, and then a dental pick to lift up each pin, careful to not rip up the tracks underneath. Once all pins are lifted up, the chip then just falls off (about 5:30 pm). As you can see the chip is very tiny with a fine pin pitch. The tracks on the PCB were then cleaned up to remove any solder and to prepare for the new chip. Fresh solder was applied to the pads and then cleaned up to ensure that not too much solder was present. The new chip is then overlaid on top and carefully aligned, and the iron applied to melt each pin onto its pad. After each step the results were inspected multiple times to check for solder jumping tracks, stray solder balls, and that all the joints were properly implemented. Note that while this sounds simple, each step took a number of hours and was very tedious. I have attached a number of photos that we took of the process from start to finish. At about 10:30 pm, we reassembled the laptop, and then plugged in the firewire camera, and it worked perfectly the first time! We took a photo using the web cam on the firewire port - Project Oxcart is therefore a complete and total success! So it *is* possible to repair your computer if you blow something up :) |
| Pictures |


|
| Share |
|
Blog article posted December 2003 |

Google Developer Advocate 2014-2023
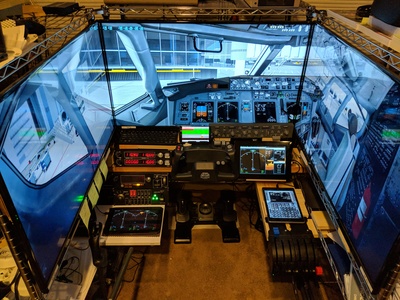
X-Plane plugins and apps for flight simulation
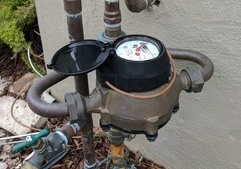
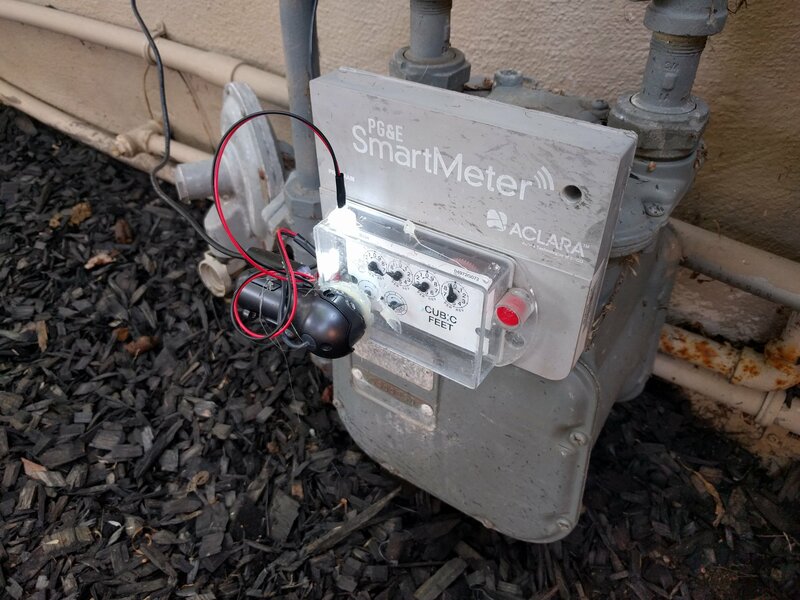
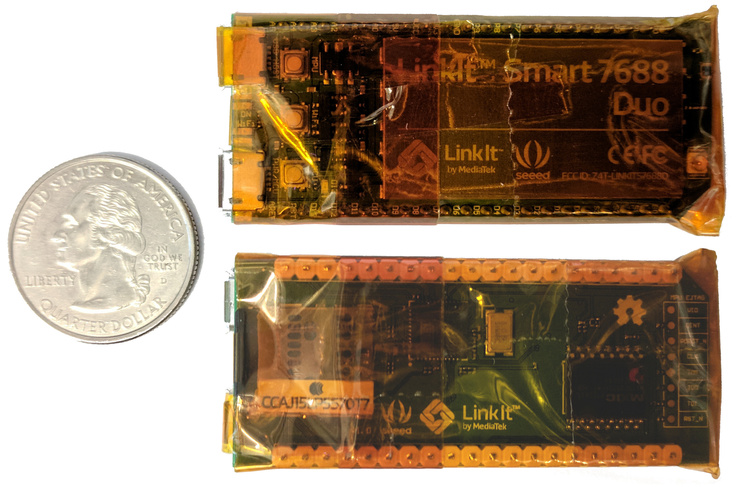
IoT water meter monitoring
IoT computer vision monitoring
Tiny and cheap offline Wikipedia project 2017
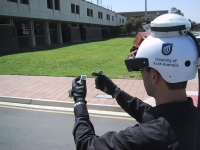
Outdoor augmented reality research
Tinmith 1998-2007
Outdoor augmented reality 3D modelling
Tinmith 1998-2007
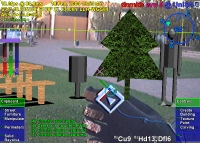
Outdoor augmented reality gaming
ARQuake 1999-2007
Scanned physical objects outdoors
Hand of God 3D 2006